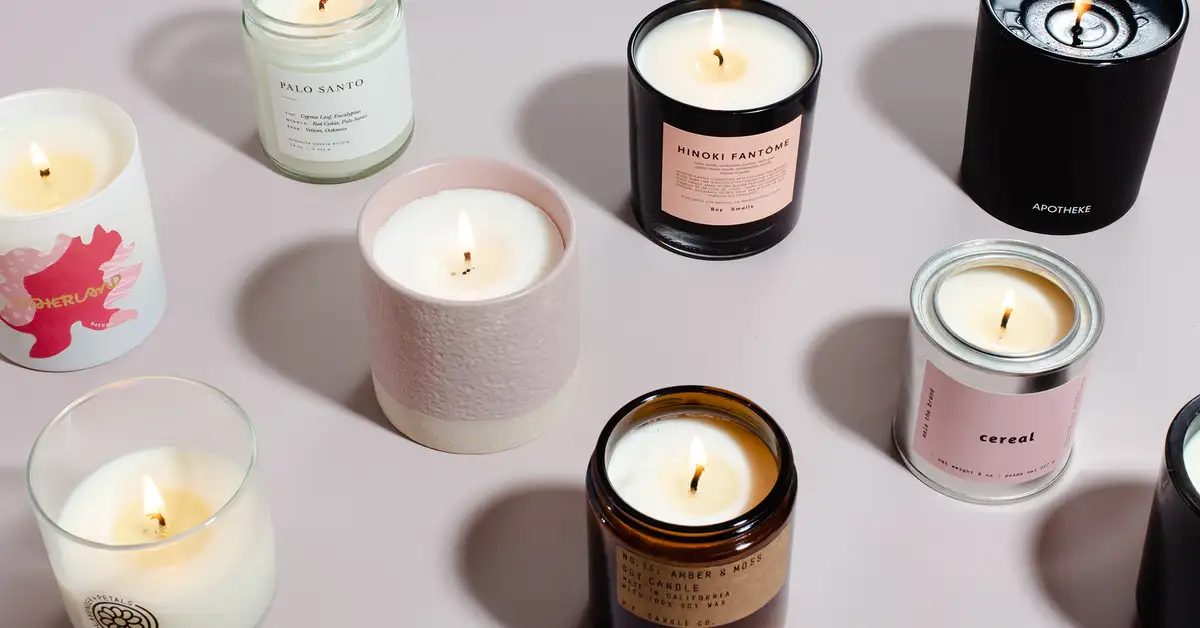
Scented candles have long been cherished for their ability to create a cozy and inviting atmosphere in homes. Their soft glow and enchanting fragrances can instantly uplift our mood and enhance the ambiance of the space.
While there are numerous scented candles available in the market, there is something uniquely satisfying about crafting your own. In this article, we will guide you through the process of making scented candles, allowing you to unleash your creativity and tailor the scents to your preferences.
Join our WhatsApp ChannelREAD ALSO:Lagos, Nigeria – A City Of Diversity And Vibrancy
Materials Needed
Before we delve into the step-by-step instructions, let’s gather the materials required for this enjoyable DIY project:
Wax: Choose a high-quality wax specifically designed for candle-making. Soy wax and beeswax are popular choices due to their natural properties.
Candle Wicks: Select pre-tabbed wicks appropriate for the size of your candles.
Container: Opt for heat-resistant containers like glass jars or tins.
Fragrance Oils: Pick fragrance oils suitable for candle-making, available in a wide range of scents.
Colour Dyes (Optional): If desired, select candle dyes to add a touch of colour to your creations.
Double Boiler or Pouring Pot: Essential for melting the wax gently.
Thermometer: To monitor the temperature of the wax accurately.
Stirring Utensil: A dedicated spoon or stir stick for blending fragrance oils and dyes.
Adhesive: Glue dots or a hot glue gun to secure the wicks to the containers.
Scissors: To trim the wicks after the candles have solidified.
Safety Equipment: Protective gloves, apron, and goggles for safe candle-making.
Step-by-Step Instructions
Prepare Your Workspace:
Clear a clean and clutter-free area for your candle-making endeavours. Cover the surface with newspapers or a protective cloth to catch any spills or drips.
Melt the Wax:
Using a double boiler or a pouring pot placed in a larger pot with water, melt the wax over medium heat. Monitor the temperature using a thermometer to ensure it doesn’t exceed the wax’s melting point.
Add Fragrance Oil:
Once the wax has melted completely, remove it from heat and let it cool slightly. Add your chosen fragrance oil according to the recommended ratio provided by the manufacturer. Stir gently to ensure even distribution.
Add Colour (Optional):
If you wish to add colour to your candles, carefully mix a small amount of candle dye into the melted wax until you achieve the desired hue. Remember that a little goes a long way, so add the dye gradually until you achieve the desired intensity.
READ ALSO:King Charles III: Importance And Tradition Of British Coronation
Secure the Wicks:
Using glue dots or a hot glue gun, adhere the metal tab at the end of the wick to the bottom centre of the container. Ensure the wick remains upright and cantered.
Pour the Wax:
Slowly pour the scented wax into the prepared containers, leaving some space at the top. Take care not to pour too quickly to avoid air bubbles.
Let It Solidify:
Allow the candles to cool and solidify naturally. This process may take a few hours, depending on the size of the candles.
Trim the Wicks:
Once the candles have completely solidified, trim the wicks to approximately ¼ inch above the wax surface using scissors. This will ensure a clean and steady burn.
Finishing Touches:
Decorate the containers with labels, ribbons, or any other personal touches you desire. Get creative and make your candles truly unique!


Follow Us