
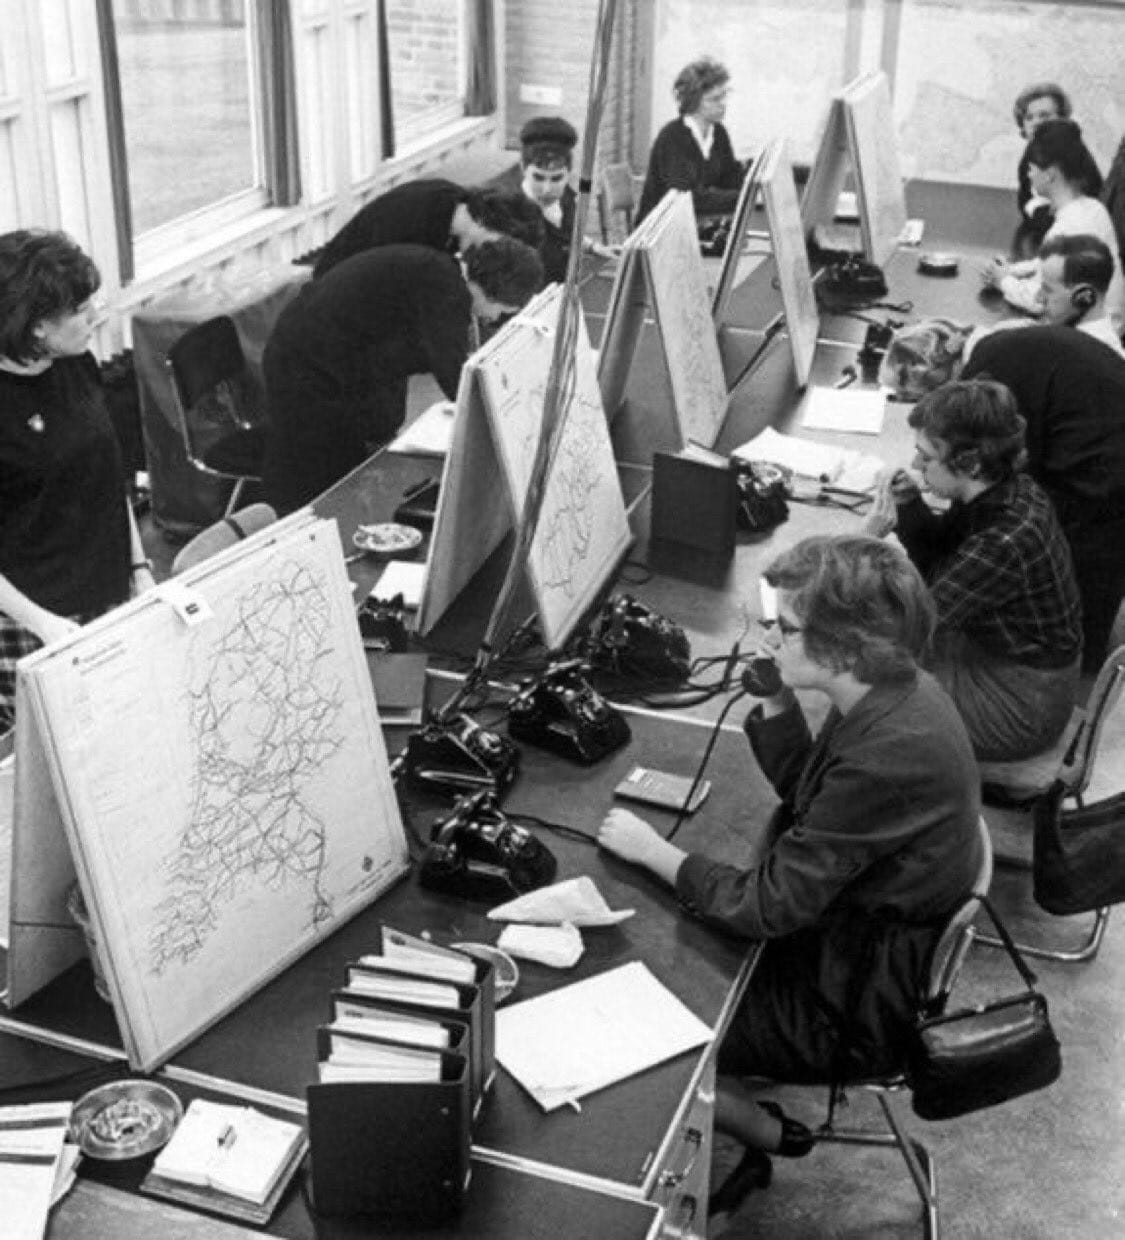
40 years before Google Maps, it was not possible to get exact locations by a click – you probably called people to look at physical maps.
When you traveled, you had to clutch on physical maps, (sometimes, hand-drawn) which at every turn and stop you had to look at very carefully. Well, not any more; all that has changed now!
Join our WhatsApp ChannelWith a click of a button- thanks to Google Earth, you can even go the extra mile – view a map over time.
READ ALSO: 13 Dangerous Apps On Google Play Store That Are Risky To Nigerians
Google automatically shows current imagery depicting how images changed over time and enable you view previous versions of a map on a timeline.
How to view a map over time on Google maps
- Open Google Earth
- Find a location
- click view (Historical Imagery or, above the 3D viewer click Time)
Tips
To change the start and end dates covered by your timeline, you can, you can simply zoom in or out. The time slider won’t be available when you record movies but you can select more than one data set and the time slider will show the collective time range of all the data sets.
How to view a map over time
Import GPS tracks from a specific time period or other data that contains time information to view images in a timeline.
- First import the GPS data or other time related data
- Select the data you imported in the Places panel and the time slider will show at the top of the 3D viewer with a time range that corresponds to the data you opted for.
- there are lines on the timeline indicating the dates when images of your map are available. Note that you can also explore different time periods thus:
- A. To change the length of time by dragging the range marker to the right or left
- `Make the time range earlier or later by dragging the time slider to the right or left. The range marker moves with the time slider so that the time range shown remains the same.
- Zoom in to shorten or zoom out to lengthen the date range covered by your time line. The Start and End dates on the timeline.
- You can even change the time of day, and probably view the effect of the sun and sunlight across the landscape:
- Turn on the sunlight feature by clicking Sunlight. You would see the current level of sunlight in your present location. Note that the time slider will show at this time.
- You can change the timezone by dragging the time slider left or right. Depending on your location and time of year, you can see the sunrise or sunset while looking east or west,
- To display animation of sunlight across the landscape, click the time slider plat button. To hide the sun, click Sunlight.
- It’s interesting to note that this feature produces dramatic effects when viewed on hilly or mountainous terrain.
- Send us a mail at editor@primebusiness.africa or publisher@primebusiness.africa


Follow Us